
THREADWELL GUIDE
How to use Threadwell
Create a home for your chats, find your work faster, and keep your organization together.
1. Get started
Threadwell adds a folder organizer beside your ChatGPT conversations. Your conversations stay in ChatGPT; Threadwell helps you arrange their titles and links.
- Open Threadwell in the Chrome Web Store, click Add to Chrome, and confirm with Add extension.
- Open chatgpt.com and sign in to ChatGPT.
- If the page was already open when you installed Threadwell, reload it.
- Look for the Threadwell sidebar on the left.
Free organization works without a Threadwell sign-in. A Threadwell account is used to verify your Pro subscription.
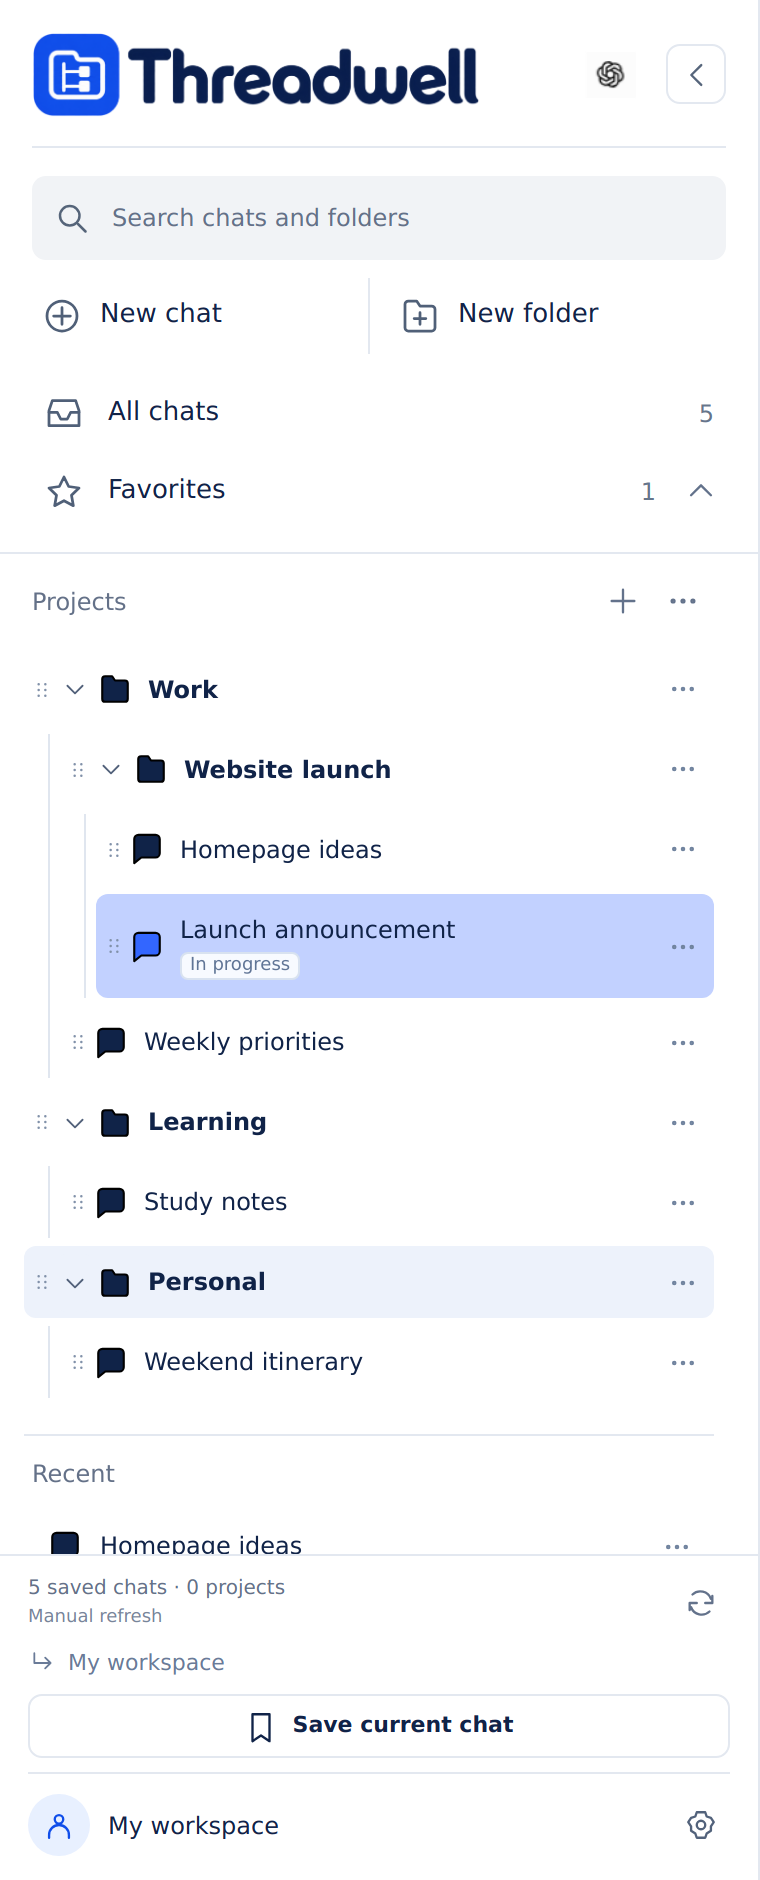
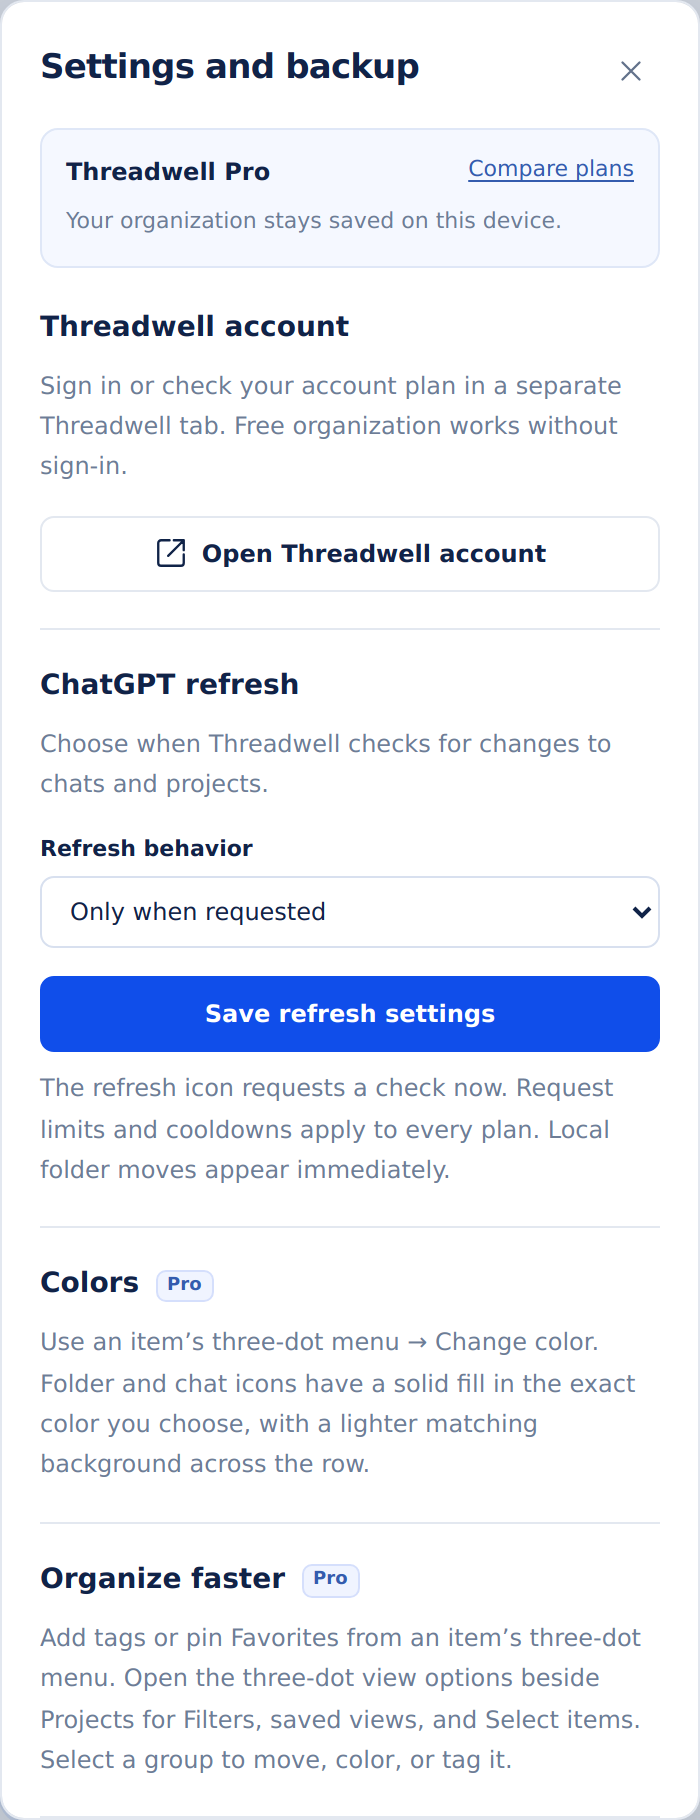
Use New folder to begin organizing, All chats to browse saved conversations, and My workspace to return to your folders. The gear at the bottom opens Settings and backup.
Click the ChatGPT icon at the top of Threadwell to show or hide ChatGPT’s own sidebar. Drag the divider on Threadwell’s right edge to adjust its width.
2. Create folders and subfolders
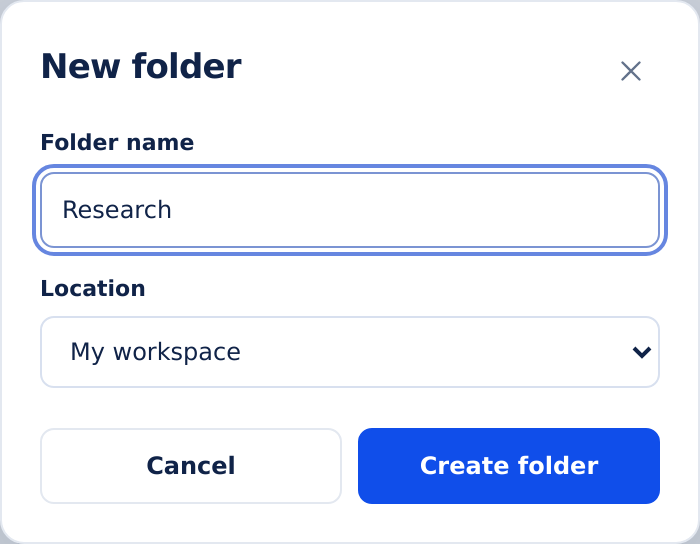
- Click New folder.
- Enter a name, such as Research or Work.
- Choose its Location.
- Click Create folder.
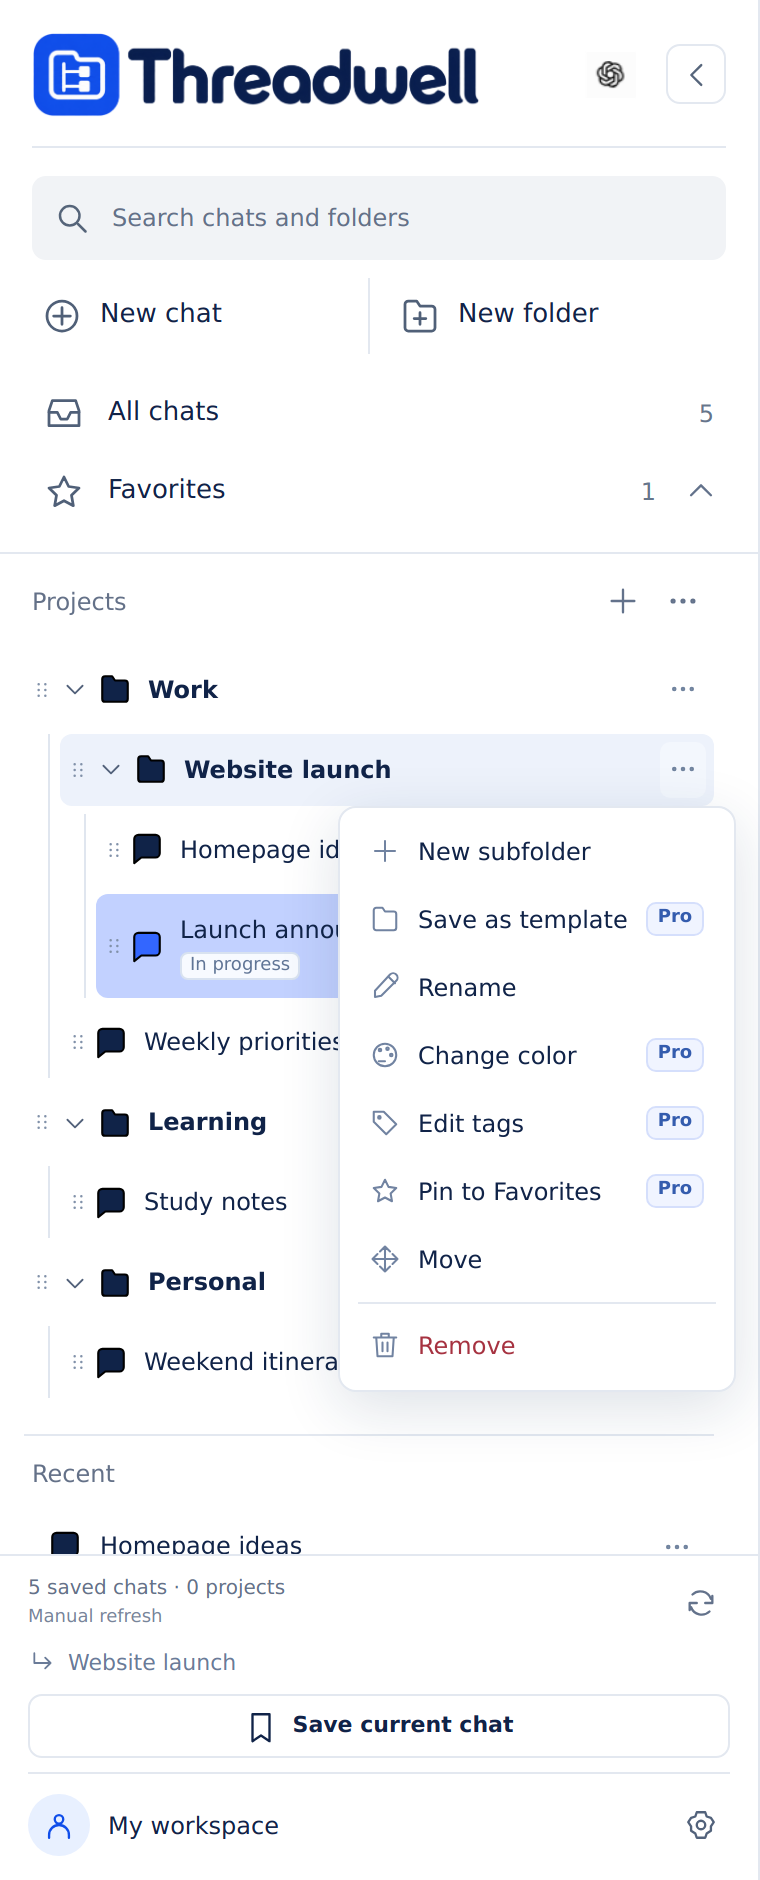
To place a folder inside another folder or saved project, open that item’s three-dot menu and choose New subfolder. Use the small arrow beside a folder to expand or collapse it.
Try Work, Learning, and Personal. Add subfolders when a topic needs its own space—for example, Work → Website launch.
3. Save and organize a chat
- Open the conversation you want to organize in ChatGPT.
- Click Save current chat near the bottom of Threadwell.
- Check the chat title and choose a Location.
- Click Save chat name.
Click a saved conversation in Threadwell to reopen it in ChatGPT. You can also save a project link using Save current project when that option appears.
Saving or renaming a conversation title also updates its name in ChatGPT. Folder names and your folder arrangement are saved in Threadwell.
4. Move, rename, or remove items
Open the three-dot menu beside a folder or conversation to see its actions.
- Move: choose a destination and click Move here. You can also drag an item into a folder.
- Rename: enter the new name and click Save name.
- Remove: read the confirmation before removing the shortcut or folder.
Removing an item from Threadwell keeps the original ChatGPT conversation or project intact. Removing a folder also removes the Threadwell shortcuts inside it.
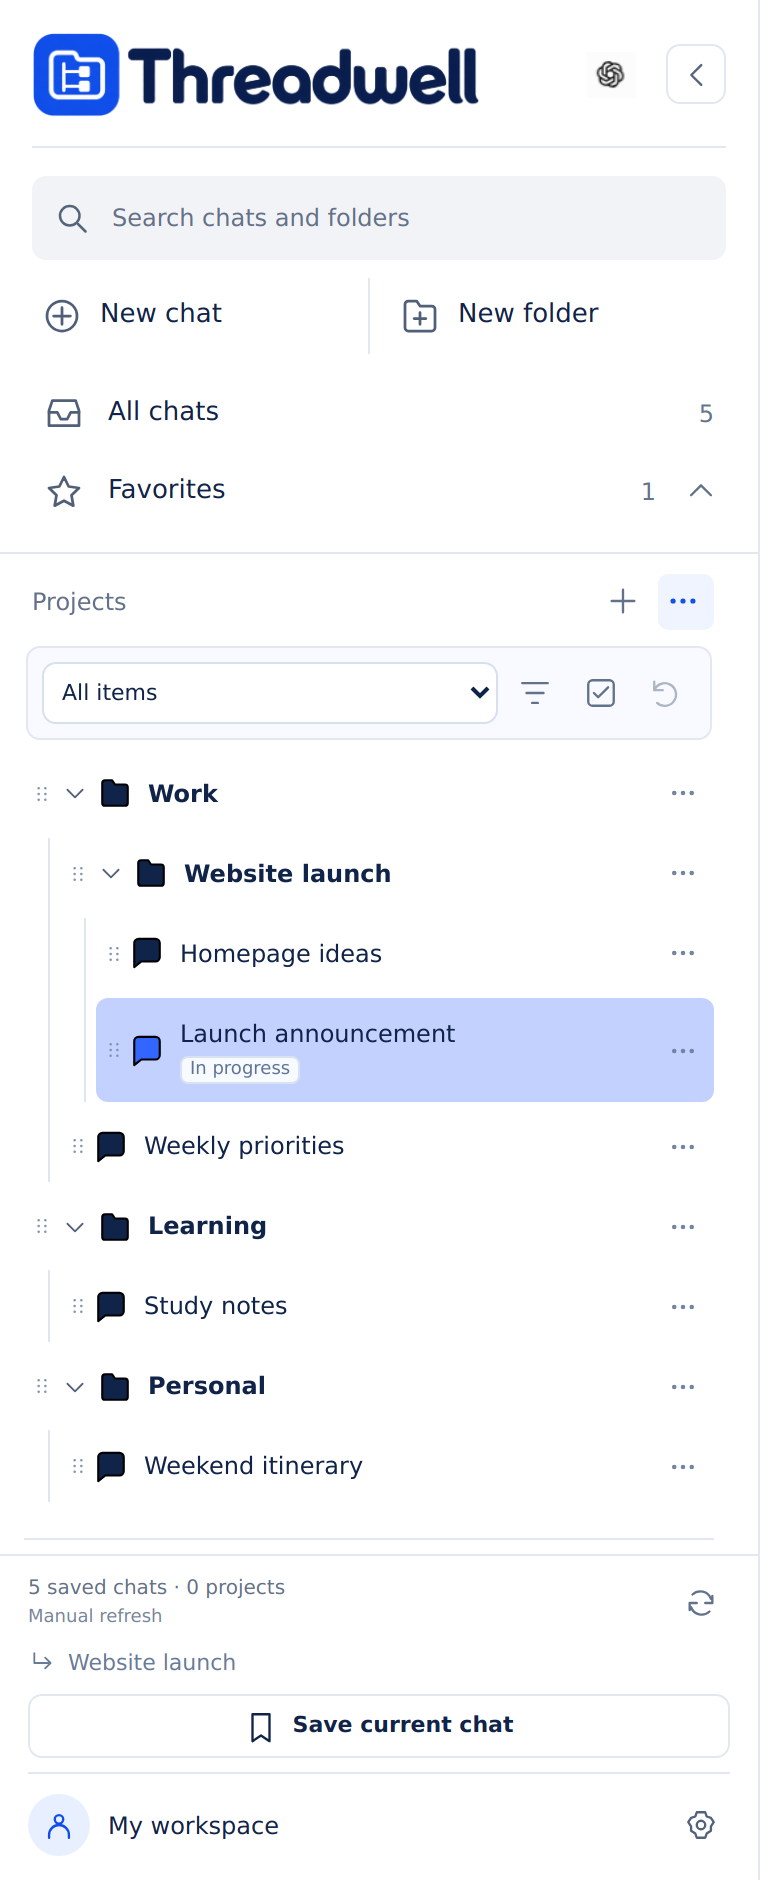
To undo a recent organization change, open the three-dot View options beside Projects and use the Undo arrow when it is available. Undo is limited to the current session. To reverse a chat rename, rename the chat again.
5. Find chats and refresh your list
Type in Search chats and folders to find saved items by title. Clear the search to return to your full collection.
Choose All chats to browse saved conversations together, or My workspace to return to the folder tree.
If a new chat or a change made in ChatGPT is missing, click the refresh icon beside ChatGPT conversations near the bottom of Threadwell. Wait for the status message to finish.
With Pro, open Settings and backup, set Refresh behavior to On a schedule, choose minutes or hours, and click Save refresh settings. Scheduled checks run while a ChatGPT tab is open and visible. For larger collections, start with 30 minutes or longer.
6. Make the most of Pro
Colors and Favorites
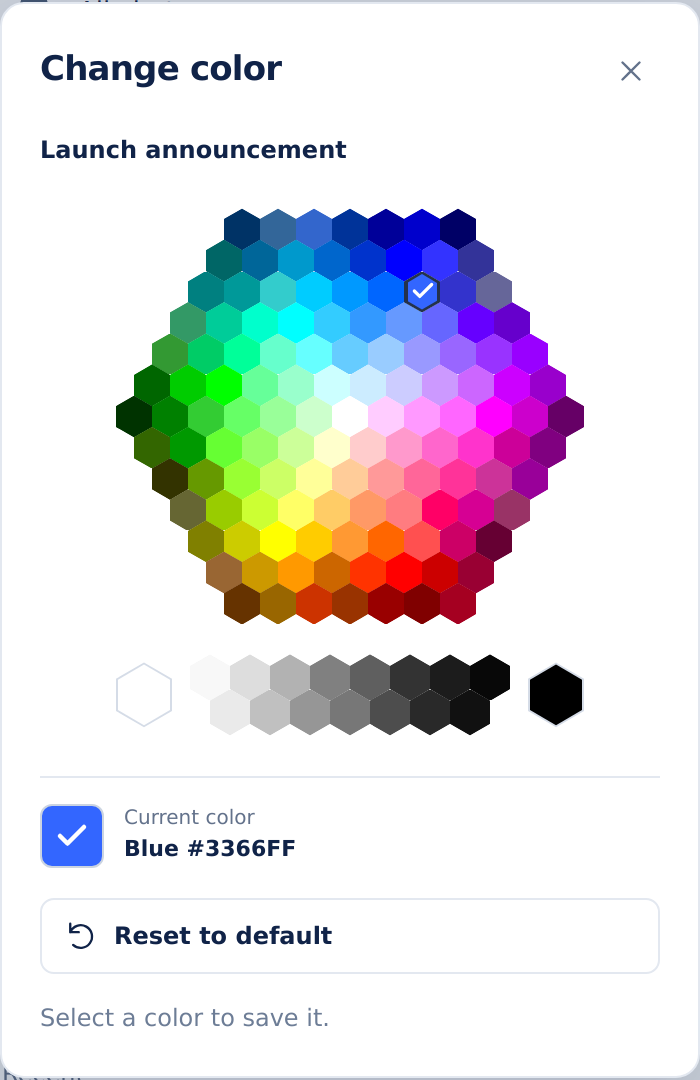
Open an item’s three-dot menu and choose Change color. Click a swatch to save the color, or choose Reset to default.
Choose Pin to Favorites from an item’s menu, then use Favorites near the top of the sidebar for quick access. Choose Unpin from Favorites to remove the pin.
Tags and saved views
Choose Edit tags from an item’s menu. Enter labels separated by commas, such as Research, In progress, and click Save tags.
Open View options beside Projects, then Filters and saved views. Choose a title, tags, or item type. Click Apply filter to see matches. Enter a view name and click Save view to reuse it.
Bulk actions
Open View options → Select items. Check the items you want to change, then choose Move, Color, or Tags. Click Done when finished. Folder contents change only when those items are selected too.
Folder templates
Open a folder’s menu and choose Save as template. Go to Settings and backup → Manage folder templates to reuse the structure. Templates recreate empty folders and subfolders.
7. Back up and sync your organization
Export or import a backup
Open Settings and backup → Export backup to download a copy of your organization. Keep the file somewhere you can find it later.
To bring a backup into Threadwell, choose Import backup, select the file, and review the confirmation. Import merges the backup into your current collection.
Automatic backups and restore history
Choose Schedule and restore backups in Settings and backup. Set your schedule and history limit, then click Save backup settings. Use Back up now for an immediate snapshot, or Restore beside an earlier snapshot to recover that arrangement. Review the confirmation before restoring.
Sync between computers
Use Chrome Sync to share Threadwell organization between computers with verified Pro access. Start on the computer with your preferred arrangement, then connect the other one.
Sync Threadwell Between Computers →
The step-by-step tutorial covers first-time setup, checking both directions, and a separate recovery path for different arrangements or storage errors. Updates can take several minutes.
Folders, saved links, colors, tags, Favorites, saved views, and templates. Conversation content stays in ChatGPT. Device sync excludes local backup history and this device’s settings.
8. Sign in and manage Pro
- Open Settings and backup → Open Threadwell account.
- Use the email address associated with your subscription.
- Enter the latest sign-in code sent to your email.
- After a purchase or billing change, choose Refresh subscription on the account page.
Use Manage subscription to view invoices, update payment details, or cancel future renewals. See Billing & refunds for details.
Signing out or uninstalling Threadwell does not cancel a subscription.
Troubleshooting
Threadwell does not appear
Check that the extension is enabled in Chrome, then reload chatgpt.com. If Threadwell is collapsed or hidden, try its Chrome toolbar button.
A conversation is missing
Clear your search and any active filter, check All chats, and request a manual refresh. You can also open the conversation in ChatGPT and use Save current chat.
The ChatGPT sidebar does not open
Try the ChatGPT icon, then reload the page. If the issue continues, choose Settings and backup → Save sidebar diagnostic and include the file with your support request.
Pro is not showing after purchase
Open your Threadwell account, verify that you used the purchase email, and choose Refresh subscription. If access still looks wrong, contact support.
Need more help? Visit Support or email contact@threadwell.app.